Repairing a Small Tear in Hunting Clothing Before It Spreads

If a hunting jacket develops a small tear then this can rapidly develop into bigger problems while you are out on the hill, while being carried in a rucksack or even in the wash. A small tear is rarely a small problem and should not be covered up with the strongest adhesive available without first checking out the problem in more detail. How a fabric has torn, where the problem is located on the garment and how you use the garment all have to be taken into account when deciding whether to simply patch up the problem or whether to go for a more permanent repair that will also last.
Start by checking what actually failed
First clean the torn area, brush off any dirt, etc. from the surrounding fabric. Let a damp garment dry before starting any repair. Also ensure the garment is flat when you start to apply any patch. Support the area of the garment where the tear has occurred from underneath. Ensure any repair does not pull or stretch the garment in places where it is normally tight.
Examine the damage for tears with clean edges (e.g. slits) and those that are jagged and torn. Also, determine if the lining has torn and examine both sides of the material. There is a big difference between a tear in a seam and one in the main body of the cloth. Also, be aware that fabric that has become thin in some areas is more prone to tearing and thus needs to be treated with extreme care.
Take into account the function of your garment as well. A tear on the lower leg will probably get caught in vegetation frequently whereas a tear near a pocket or on shoulder will get stretched continually. Therefore, a small tear in a wind shell is much more serious than it seems at first because it can compromise the garment's ability to block wind or to repel light moisture.
Decide whether a simple patch is suitable
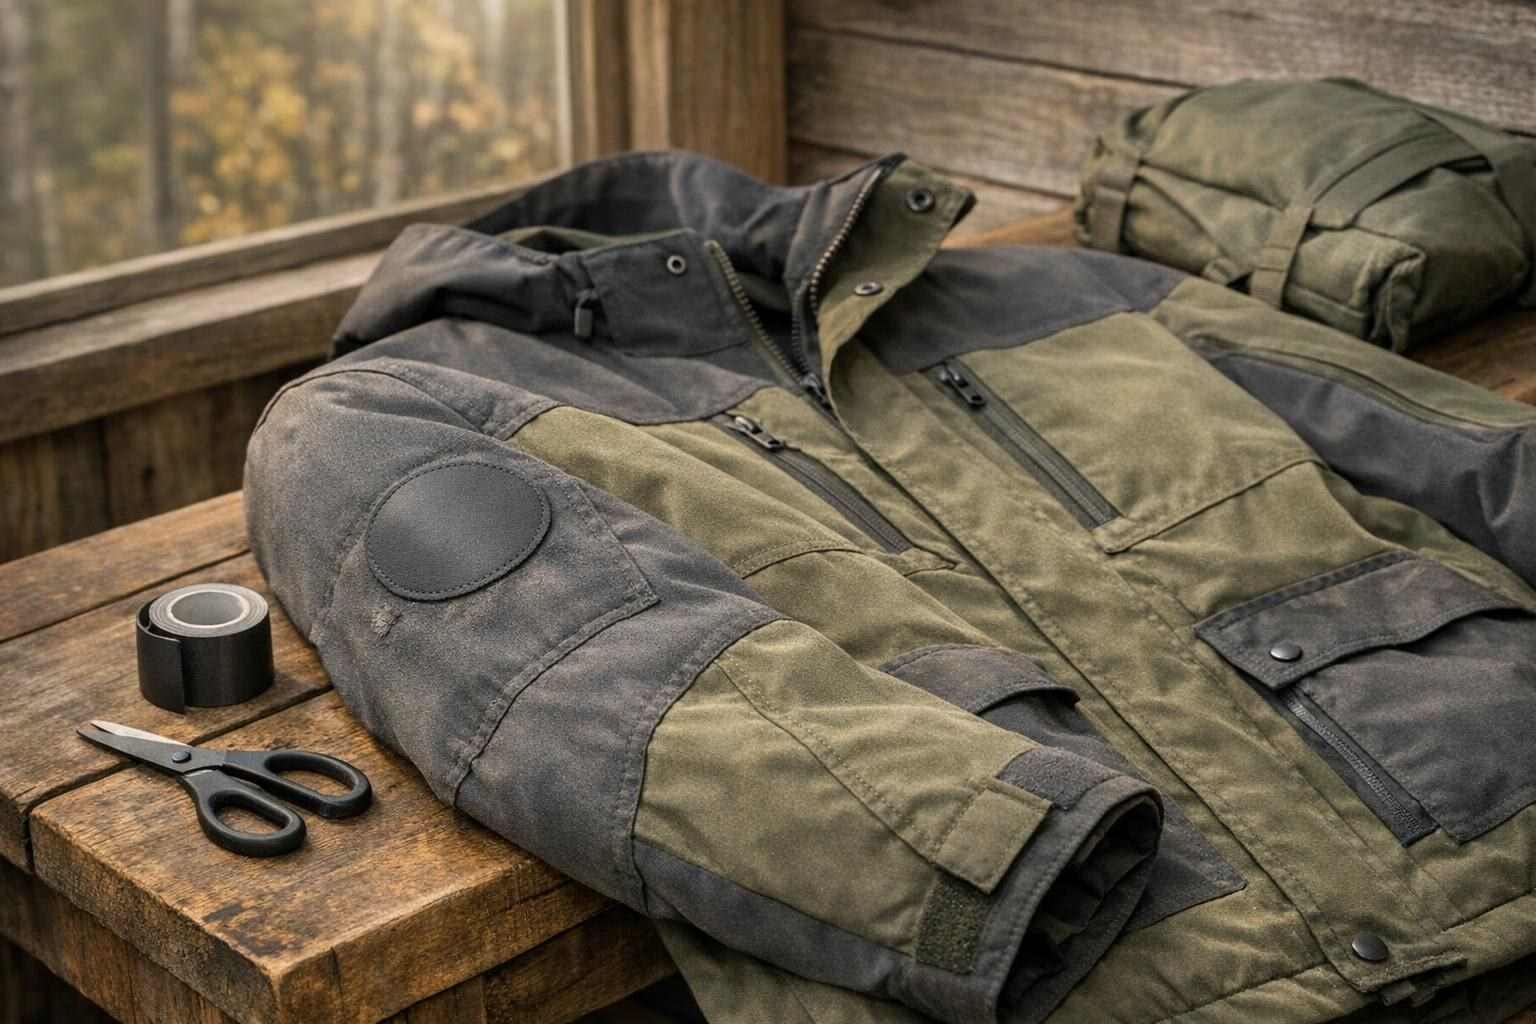
Fabric patches are generally the best type of repair for small, clean tears in strong fabric. Select a flexible patch made from a similar material to the rest of the garment, and make sure it can be washed and treated in the same way. Stiff patches can create new stress points on garment sections that flex a lot (elbows, knees, seat, etc.) and can be unpleasant to wear against skin if they are located in areas such as the cuff or on the pockets.
Allowing a patch to cover more of the material on the inside of the garment than the tear on the outside will give you a much stronger patch. Also, instead of making a pointy patch with corners, make a round one. This will be less likely to "lift" or grab onto something. Avoid making the patch too thick in areas where there is contact with your body. Also, be mindful of pockets, cuffs, and other adjustments on your garment.
The repair kit supplied with outdoor apparel contains patches which have a special adhesive on the back. These can be used with or without repair tape. All repairs should be carried out in accordance with the manufacturer's instructions for the product and the garment. Most repair adhesives require a clean, dry surface and sometimes a period of time to cure before the garment is folded, worn or subjected to moisture. Some repair products can be damaged by heat and should not be used on synthetic fibers, garments containing coatings, elastic or waterproof membranes.
Prepare the tear without making it worse
Be careful to only cut the loose fibers. A repair does not have to look neat. When there is an opening to the repair, push the edges together as much as possible and make sure they do not buckle. For very narrow tears such as slits, it is possible to use a low-tack tape to hold the material in place while the patch is applied. Check that the tape does not stick to the patch or leave any residue on the garment.
Similarly, after you have cleaned a patch area for repair, make sure that the area is completely free of dirt, dryness, and loose debris. (This does not mean to scrub or to clean the patch area with harsh solvents and so on, which will, more than likely, weaken the fibers of the garment, or attach, to the fabric in question, extremely sticky and hard-to-remove household-type adhesives.)
Ensure garment is laid out flat and supported. If repair is located near a curved surface such as an elbow, or at the base of a seam, then ensure garment is supported to prevent stretching of fabric while patch is being applied. Otherwise patch may relax after application and contract causing damage to repair. Work slowly to ensure that patch is laid flat and even, and that no folds are trapped in the fabric.
Know when stitching helps – and when it does not
Hand stitching is often used to repair torn seams or instances of slight wear in non-coated, woven materials. Try to keep the stitches short and evenly spaced to close the gap. However, keep in mind that very tight stitching can cause the fabric to bunch up and create a new weak point. Remember that the purpose of a repair is to return an item to its original state. A repaired area should not feel stiff or become a new 'weak point' in a garment.
Stabbing is not effective for waterproof, and laminated layers as it creates additional holes through the protective outer layer. Lightweight materials are also prone to further splitting around the points where the needle has pierced the fabric and as a result, it is generally better to use a suitable patch over stronger material of the garment for such types of repairs.
Additionally, it's worth bearing in mind that tears on seams with zippers, pockets, cuffs, waist bands etc. are subject to particular strains. These are the kinds of areas that are generally best to have repaired by a professional garment repair service or outdoor apparel repair specialist, particularly if the garment contains specialized membrane, insulation or bonded construction elements.
Test the repair before taking it outside
Once a repair has set, it is best to flex the garment and test it out before taking it out for a walk. You can bend your elbow, sit down, pull on the garment around the pockets, etc. To test a repair, gently pull on the edges of the patch to see if it will lift. Try to bend the garment in all directions to test for any flex in the repair. Also make sure the repair does not restrict any movement and does not feel uncomfortable against your skin.
Small repairs to gear need to be maintained as part of general wear and tear. Wash garments with new repairs in exactly the same way as you would normally and try to avoid rubbing repaired areas against anything. After a wash, inspect the repaired area for signs of any deterioration. If a repaired edge starts to come up, sort it before it gets dirty and damp inside.
Lastly, remember to carry a small patch and some repair tape with you to ensure you can deal with any 'problems' along the way to make a proper repair back in the shed when you return. Remember also that good outdoor apparel does not need to be perfect to be useful. However, spotting a problem early on and repairing it with the right materials to match the garment as closely as possible and then testing it before heading out can prevent that 'problem' turning into something more serious like losing a layer of weather protection or becoming uncomfortable to wear.
It doesn't have to be perfect to be good. The key is to be able to fix it when things start to go wrong. Identifying a problem early on and using the right patch for the job to complete a test before you go out to play will stop what at first seems like a minor problem turning into a serious problem with your clothing, your weather or your comfort.